To Radiator Page
To Radiator Page |
|
| Radiator And Electric Fans - Sealing The System |
| After getting everything in place and before the final installation
of the top retainer brackets the front needs to be sealed. This to make sure
the air flows through the radiator and not around it. I had a brand new set insulation pieces that did not that fit all that well. Putting my advanced Bubba Engineering degree to use I managed to fabricate the seals. Standard hot water pipe insulation is ideal for the project. It is inexpensive, readily available, and easy to use. Just what Bubba ordered. |
| Side Pieces |
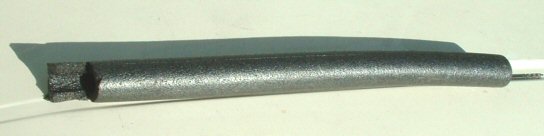 |
This piece was cut for the vertical seal along each side of the radiator. It needs to be put in before the upper retainers of the radiator are bolted in place. The notch allows it to fit under the crossmember. |
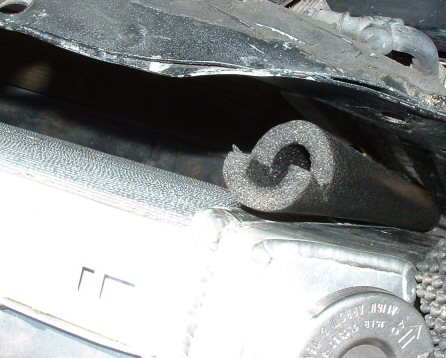 |
| Top Pieces |
| The top of the radiator needed to be sealed under the crossmember. A simple length of the insulation fit here nicely. This worked along with an upper piece (like shown below). Later when the standard Crossfire hood ducting was put back on some modifications were made to lower piece (see next picture). |
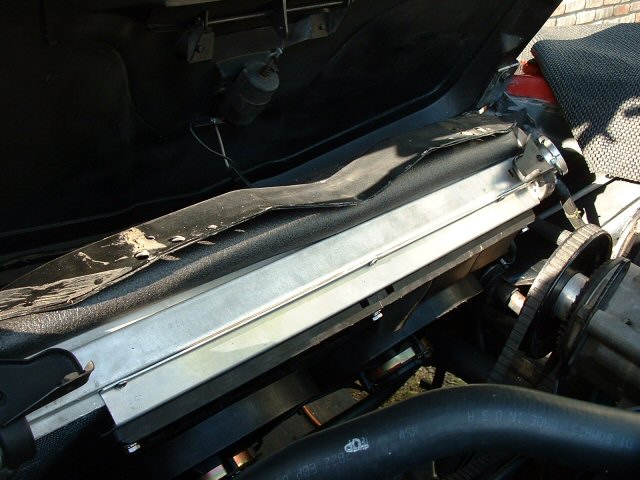 |
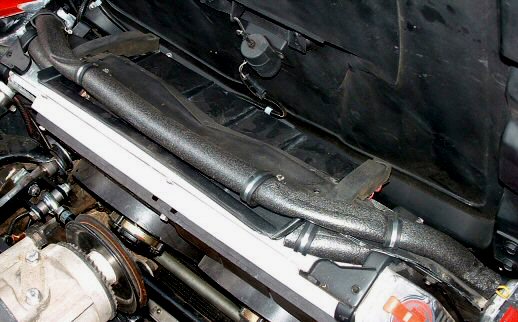
| Over the top of the crossmember is a long single piece with a metal
coat hanger rod inside. The rod retains the profile of the insulation as it is
bent around the radiator support. Underneath on each side is a short piece to
fill the gap between the hood intake and the radiator. These are not needed
unless the hood ducting is used. These pieces are held in place with simple aluminum wire clamps. The first time the hood is closed the upper seal and clamps are formed into position. |
 |