To Radiator Page
To Radiator Page |
|
| Radiator And Electric Fan Mounting |
| The Radiator |
| This may not be the case but we figured it
to be an easier job to remove the fans before installing the radiator. . The transmission cooler lines were removed and plugged. Then the original fan and shroud came out. This was by far the toughest part of the job. It is amazing once they are out just what kind of room there is in the engine compartment. The radiator fits in place the same as the old one. The rubber mounting bushings needed some minor cutting to match the new radiator profile (it is bigger). To install the radiator without damaging too much a friend lent a hand. It is real easy to bend up a fin or two. The radiator is lowered into the lower mount. Then a large rag was put between in an the engine to hold it in place while we hooked up the transmission lines. |
| The Fans |
| Normally the fans should have slid into mount position
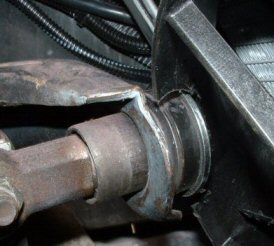
and been bolted down. Unfortunately no project can come off without some
hitch. When trying to get them in place it became apparent that fan housing was going to hit the left upper A-Arm pivot axle. After trying to wiggle, squeeze, shove and force it in place we decided plastic surgery was in order. A section was removed from the fan housing to make it work. See picture to right. I emailed Tom asking if this would harm the fan housing. He was not sure. He did offer some good advice to just move the fan mounting away from the A-Arm. Well DOH!!! I don't know why I didn't think of that. All that was required was to remove the brackets on the radiator and slide them away from the A-Arm. After double checking the measurements new mounting holes were drilled and the brackets reinstalled. Tom was a real champ. He offered to send me a new fan mount on his dime. What a great guy to work with! I received the fan mount and after a little trial and error got it to fit very nicely. |
 |
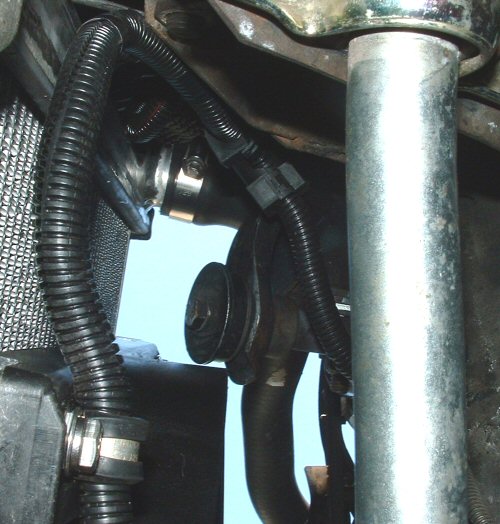
| The fit was close but with enough room to make it. | |
 |